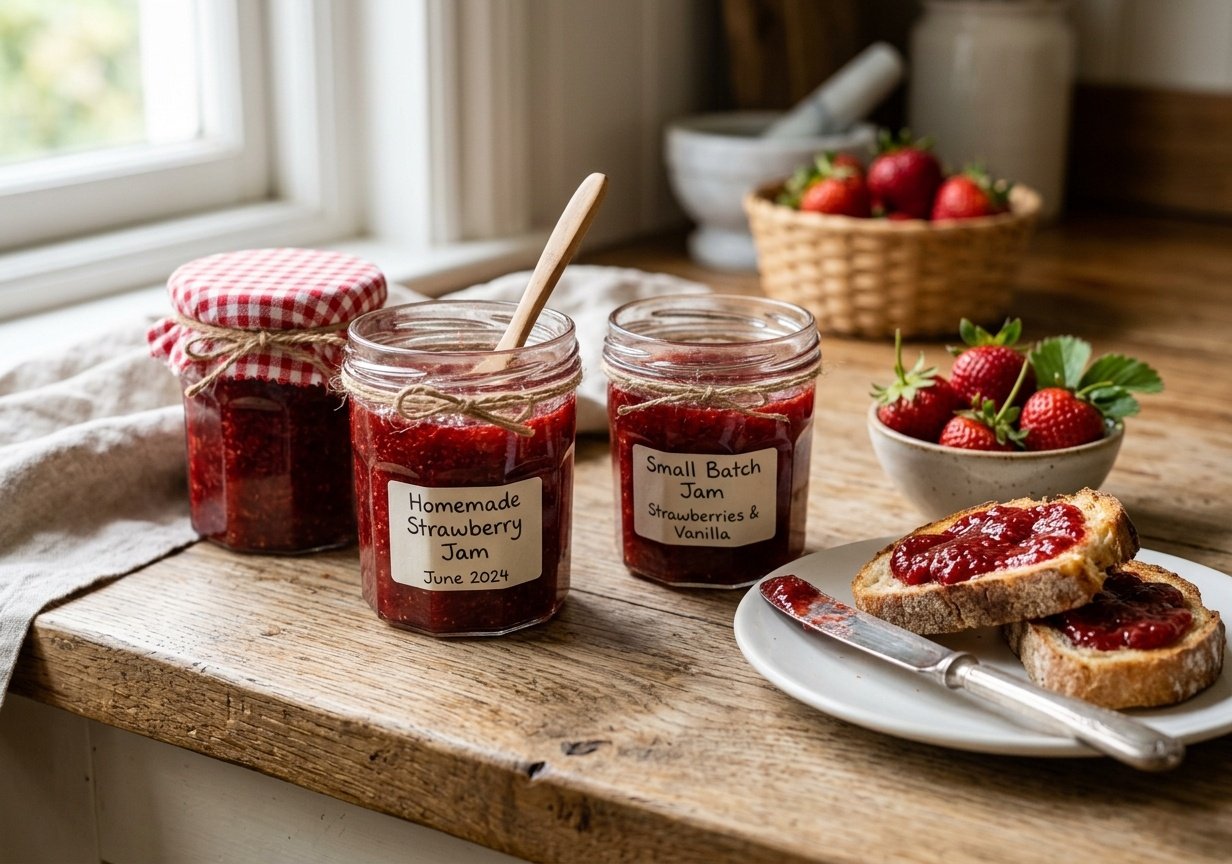
If you’ve ever tasted jam straight from a jar you made yourself, you know it’s a completely different experience from the store-bought stuff. Learning how to make homemade jam is one of the most satisfying kitchen projects you can tackle — and it’s far easier than most people think. You only need three ingredients, one pot, and about 45 minutes.
This guide walks you through making a simple, no-pectin jam that works with strawberries, blueberries, peaches, or almost any soft fruit you love.
What You Need to Make Homemade Jam
You don’t need any special equipment to get started. Here’s the basic lineup:
Ingredients:
- 4 cups fresh or frozen fruit (strawberries, blueberries, peaches, raspberries)
- 2 cups granulated sugar
- 2 tablespoons fresh lemon juice
Equipment:
- Heavy-bottomed saucepan or Dutch oven
- Wooden spoon or heat-safe spatula
- Sterilized glass jars with lids
- Candy or instant-read thermometer (optional but helpful)
The lemon juice isn’t just for flavor — the natural pectin in lemon juice helps your jam set without needing store-bought pectin.
How to Make Homemade Jam: Step-by-Step
Step 1: Prep Your Fruit
Wash and hull your fruit. If you’re using large fruit like peaches or strawberries, chop them into rough chunks — they’ll break down as they cook. For blueberries or raspberries, you can leave them whole.
Step 2: Combine and Macerate
Add your fruit, sugar, and lemon juice to your saucepan. Stir to combine and let the mixture sit for 15–20 minutes. This draws out the fruit’s natural juices and gives you a head start on cooking.
Step 3: Cook Over Medium Heat
Bring the mixture to a boil over medium heat, stirring frequently. Once it reaches a full rolling boil, reduce to a gentle simmer. Skim off any foam that rises to the surface — this keeps your jam clear and beautiful.
Step 4: Test for Set
After about 20–25 minutes, test the consistency. Place a small plate in the freezer for 5 minutes, then drop a teaspoon of jam onto it. Push it with your finger — if it wrinkles and holds its shape, it’s ready. If not, continue cooking in 5-minute increments. You’re aiming for 220°F (104°C) if using a thermometer.
Step 5: Fill and Store
Ladle the hot jam into sterilized jars, leaving about ¼ inch of headspace. Seal the lids and let the jars cool completely at room temperature. Properly sealed jam keeps in the refrigerator for up to 3 weeks, or you can process the jars in a water bath for shelf-stable jam that lasts up to a year.
Tips for the Best Homemade Jam
- Use ripe fruit. The riper your fruit, the more natural pectin and flavor you get.
- Don’t double the recipe. Small batches set more reliably. Stick to 4 cups of fruit at a time.
- Stir constantly near the end. As the jam thickens, it scorches easily on the bottom.
- Adjust sweetness. Tart fruits like raspberries or sour cherries may need up to 2½ cups of sugar.
How to Store Homemade Jam
Once cooled and sealed, refrigerate your jam immediately if you’re not doing a water bath process. It’ll keep beautifully for up to 3 weeks. For freezer jam, skip the cooking entirely — mix crushed fruit with sugar and a commercial no-cook pectin, then freeze for up to a year.
Make It Your Own
Once you have the basic formula down, you can experiment endlessly. Try strawberry-basil, blueberry-lavender, or peach-ginger for something unexpected. The process is identical — just add your herbs or spices in the last 5 minutes of cooking.
Frequently Asked Questions

Jeff Smith
"Cooking is the intersection of history, science, and emotion."
For me, the kitchen has always been a laboratory of culture. With a background deeply rooted in digital strategy and precision, I approach the culinary arts with the same rigor I apply to the digital landscape—analyzing flavors, perfecting techniques, and documenting the nuance that makes Filipino cuisine truly world-class.
Findme Recipe was born from a desire to bridge the gap between traditional heritage and the modern home cook. Whether it is mastering the perfect balance of acidity in a classic Adobo or simplifying complex regional dishes for everyday kitchens, my mission is to preserve our culinary identity through accessible, data-backed, and delicious content.
I am not just building a database; I am cultivating a community where every Filipino kitchen feels empowered, every ingredient is celebrated, and every family heirloom recipe finds a place to thrive.
Join me as we translate the soul of our islands into recipes for the next generation.