If you use your blender regularly — for smoothies, soups, sauces, or nut butters — keeping it clean is non-negotiable. A dirty blender doesn’t just smell off; it can harbor bacteria, dull the blades, and shorten the life of the motor. The good news? Learning how to clean a blender properly takes less than two minutes when you do it right after every use.
Here’s the full breakdown, from quick daily cleaning to deep monthly maintenance.
The 60-Second Self-Clean Method (After Every Use)
This is the trick most people don’t know about, and once you do, you’ll never dread cleaning your blender again.
Step 1: Rinse Immediately
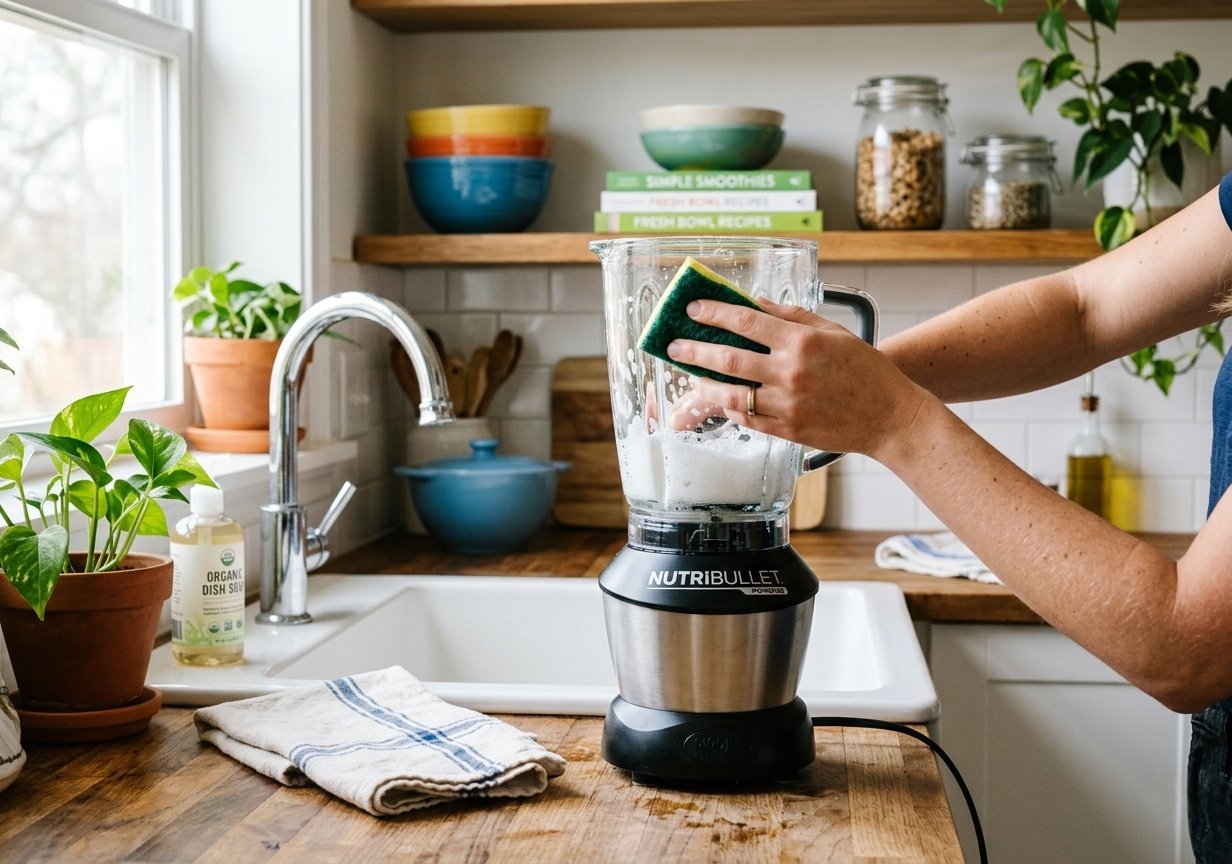
Right after blending, add warm water to the blender jar — about halfway full. Add one small drop of dish soap. Don’t wait. The longer residue sits, the harder it sticks.
Step 2: Blend to Clean
Secure the lid and blend on high for 30–60 seconds. The soapy water swirls up and scrubs the interior walls and blades from the inside out — reaching spots a sponge can’t get to.
Step 3: Rinse and Air-Dry
Pour out the soapy water, rinse with clean warm water, and set the jar upside down on a drying rack. That’s it.
How to Deep-Clean a Blender (Once a Week or as Needed)
The self-clean method handles daily residue, but a deeper clean removes built-up oils, stains, and odors.
Step 1: Disassemble Completely
Remove the blender jar from the base. Unscrew the blade assembly from the bottom of the jar. Carefully remove the rubber gasket — the seal that sits between the jar and the blade unit.
Step 2: Hand-Wash Each Component
Wash the blade assembly, gasket, and lid separately in warm soapy water using a soft sponge. Do not put the blade assembly in the dishwasher — the heat degrades the rubber and can loosen the seal over time. Use a small bottle brush to clean around the blade base where gunk accumulates.
Step 3: Clean the Blender Jar
Most blender jars are dishwasher-safe (top rack only), but handwashing extends their life. For stubborn stains or discoloration, fill the jar with warm water and a tablespoon of white vinegar. Let it soak for 20 minutes, then rinse.
Step 4: Wipe the Base
Never submerge the blender base in water — it contains the motor and electrical components. Use a damp cloth or sponge to wipe down the exterior. For stuck-on drips around the button area, use a toothpick or cotton swab dipped in warm soapy water.
Step 5: Reassemble Dry
Make sure every piece is completely dry before reassembling. Trapped moisture leads to mold inside the gasket and seal. Leave components air-dried for at least 30 minutes before putting the blender back together.
How to Remove Odors from a Blender
- Baking soda soak: Add 1 cup warm water + 2 tablespoons baking soda to the jar. Blend for 30 seconds. Rinse well.
- Lemon scrub: Blend a quartered lemon (skin and all) with water and a splash of white vinegar. The citric acid neutralizes strong odors naturally.
What NOT to Do When Cleaning a Blender
- Don’t blend boiling liquid. Steam builds pressure and can force the lid off. Let hot soups cool for 5 minutes first.
- Don’t skip the gasket. The rubber gasket is where mold loves to hide. Clean and dry it every time.
- Don’t use abrasive scrubbers. Steel wool scratches plastic jars and creates tiny grooves where bacteria collect.
Frequently Asked Questions

Jeff Smith
"Cooking is the intersection of history, science, and emotion."
For me, the kitchen has always been a laboratory of culture. With a background deeply rooted in digital strategy and precision, I approach the culinary arts with the same rigor I apply to the digital landscape—analyzing flavors, perfecting techniques, and documenting the nuance that makes Filipino cuisine truly world-class.
Findme Recipe was born from a desire to bridge the gap between traditional heritage and the modern home cook. Whether it is mastering the perfect balance of acidity in a classic Adobo or simplifying complex regional dishes for everyday kitchens, my mission is to preserve our culinary identity through accessible, data-backed, and delicious content.
I am not just building a database; I am cultivating a community where every Filipino kitchen feels empowered, every ingredient is celebrated, and every family heirloom recipe finds a place to thrive.
Join me as we translate the soul of our islands into recipes for the next generation.