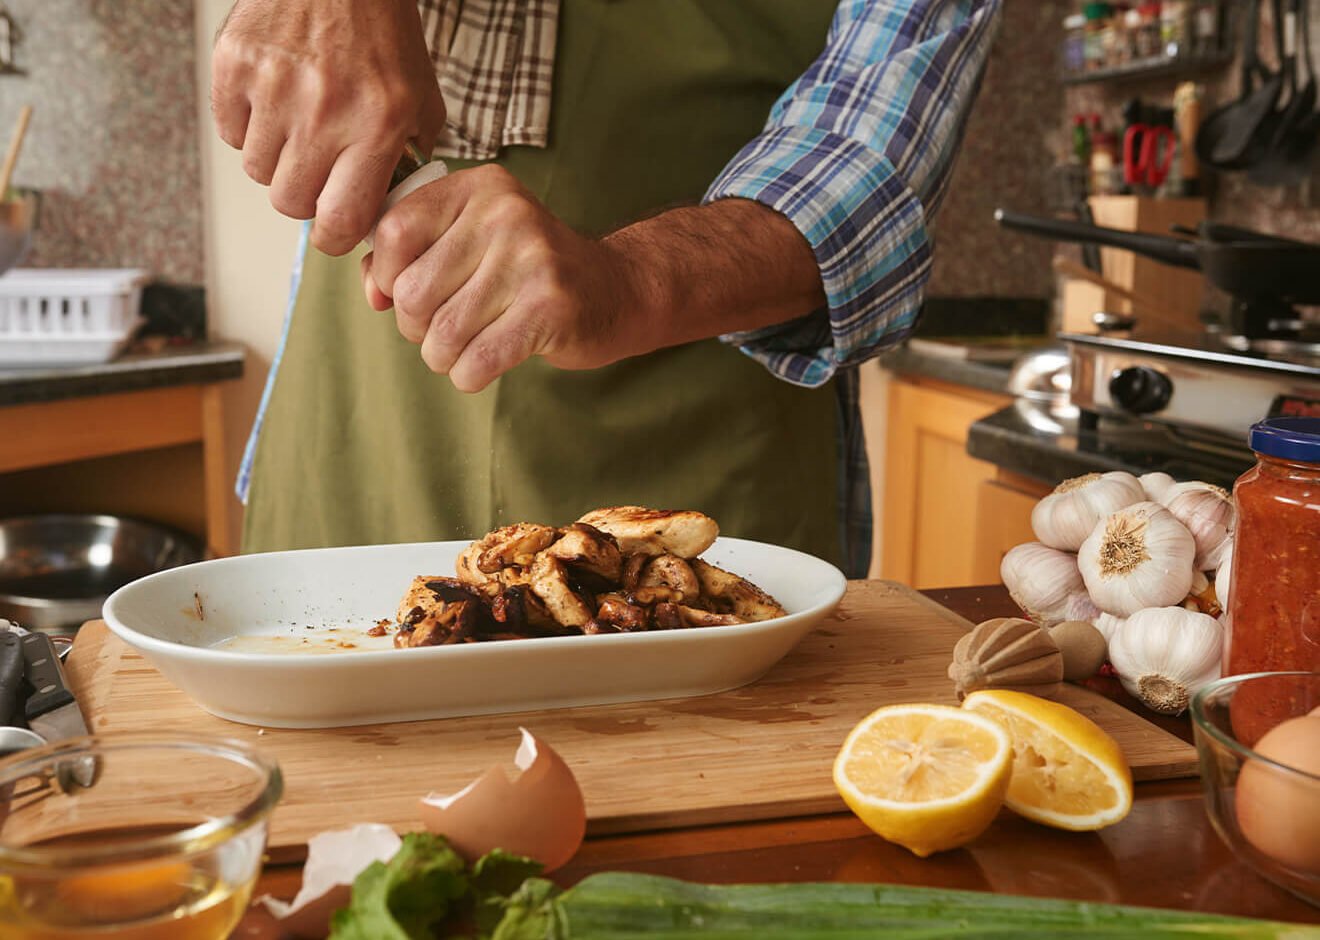
For many, grilling chicken is a gamble between “is it done yet?” and “this tastes like cardboard.” However, bringing the joy of cooking to your everyday kitchen—or backyard—means mastering the fire. Achieving that elusive combination of charred, crispy skin and a gush-of-juice interior is a hallmark of a seasoned cook. It requires a blend of temperature control, patience, and a few professional secrets.
What is the Best Way to Prevent Dry Grilled Chicken?
The biggest mistake home cooks make is taking the chicken straight from the fridge to the flame. To ensure even cooking and maximum juiciness, follow these steps:
- The 20-Minute Temper: Let your chicken sit at room temperature for about 20 minutes before grilling. This ensures the center warms up so the outside doesn’t overcook while the inside is still raw.
- The Power of the Brine: For lean cuts like breasts, a “quick brine” (submerging meat in salted water for 30 minutes) changes the cellular structure of the protein, allowing it to hold onto more moisture during the heat of the grill.
- Uniformity is Key: If using chicken breasts, use a meat mallet to pound them to an even thickness. This ensures every bite finishes cooking at the exact same moment.
How to Use Two-Zone Grilling for Better Results
Professional chefs rarely cook over a solid wall of high heat. When bringing the joy of cooking to your everyday kitchen routines, you must master “Two-Zone Grilling.”
Creating Heat Zones
Turn one side of your grill to high (the direct zone) and leave the other side on low or off (the indirect zone).
- The Sear: Start your chicken on the direct heat side. You want to hear that aggressive, musical sizzle the moment the meat hits the grate. This creates the golden-brown crust and smoky flavor.
- The Finish: Once you have beautiful grill marks, move the chicken to the indirect side and close the lid. This turns your grill into an oven, roasting the meat gently so the juices stay locked inside.
Pro-Move: Never “press” your chicken with a spatula to make it cook faster. You’ll hear a hiss—that’s the sound of the chicken’s internal moisture escaping and falling into the flames. Leave it alone!
Sensory Cues: When Is It Ready?
Relying on your senses is a huge part of bringing the joy of cooking to your everyday kitchen.
- The “Release” Test: If you try to flip the chicken and it sticks to the grate, it’s not ready. When the proteins have properly caramelized, the meat will naturally “release” from the grill.
- The Visual: Look for the juices pooling on the top of the meat to turn from cloudy/pink to clear.
- The Sound: As the fat renders, you’ll hear rhythmic “flame kisses” (small flare-ups). If it becomes a roar, move the meat to the cool zone immediately.
Safety, Temperatures, and the “Rest”
To ensure your meal is as safe as it is delicious, precision is non-negotiable.
Critical Temperatures
Use an instant-read thermometer inserted into the thickest part of the meat (avoiding the bone):
- Target Temperature: Pull the chicken off the grill at 160°F (71°C).
- Carryover Cooking: The internal temperature will rise to the FDA-recommended 165°F (74°C) while it rests.
The Resting Period
This is the most important step in bringing the joy of cooking to your everyday kitchen. Let the chicken rest on a warm plate for at least 5 to 10 minutes before slicing. This allows the muscle fibers to relax and reabsorb the juices. If you cut it too soon, all that flavor runs out onto the cutting board.


4 Comments
I loved reading this! The tips were incredibly practical and easy to follow. My kitchen routine just got a major upgrade! I’ve already started incorporating these suggestions into my daily cooking, and it’s made such a difference. Cooking used to feel like a chore, but now it’s something I genuinely enjoy. Thanks for making it so accessible and fun!
Great insights! I especially appreciated the detailed breakdown of each step. It made complex recipes feel so much more approachable. Sometimes, the thought of cooking a complicated meal can be intimidating, but this blog explained everything so clearly. I feel much more confident in trying out new techniques and dishes. Truly helpful content!
Very informative and well-written! The ingredient spotlights were my favorite part — I learned so much about things I already had in my pantry. It’s amazing how little changes in how you use ingredients can make such a big difference in flavor. This blog made me excited to use my kitchen staples creatively.
This post was super inspiring. The ideas and suggestions gave me the motivation to try new dishes I usually avoid. Thank you! I’ve been in a bit of a cooking rut, but this blog gave me the push I needed to experiment with new flavors. Now, I look forward to cooking and exploring different cuisines every week.