How to Make Chicken Soup: The Best Homemade Recipe for Rich, Healing Broth Every Time
- May 21, 2026
- 0
- 5 Min Read
The Smell That Means Someone Is Taking Care of You
There is no cooking smell quite like onion and celery softening in a wide pot, their steam rising gently as a whole chicken settles into cold water for the first time. Within twenty minutes, the kitchen fills with something warm and slightly sweet — a smell that exists in every culture’s memory of being looked after. I have made chicken soup in drafty apartments and professional kitchens, in winter and in August, sick and perfectly well. The recipe barely changes. The feeling never does.
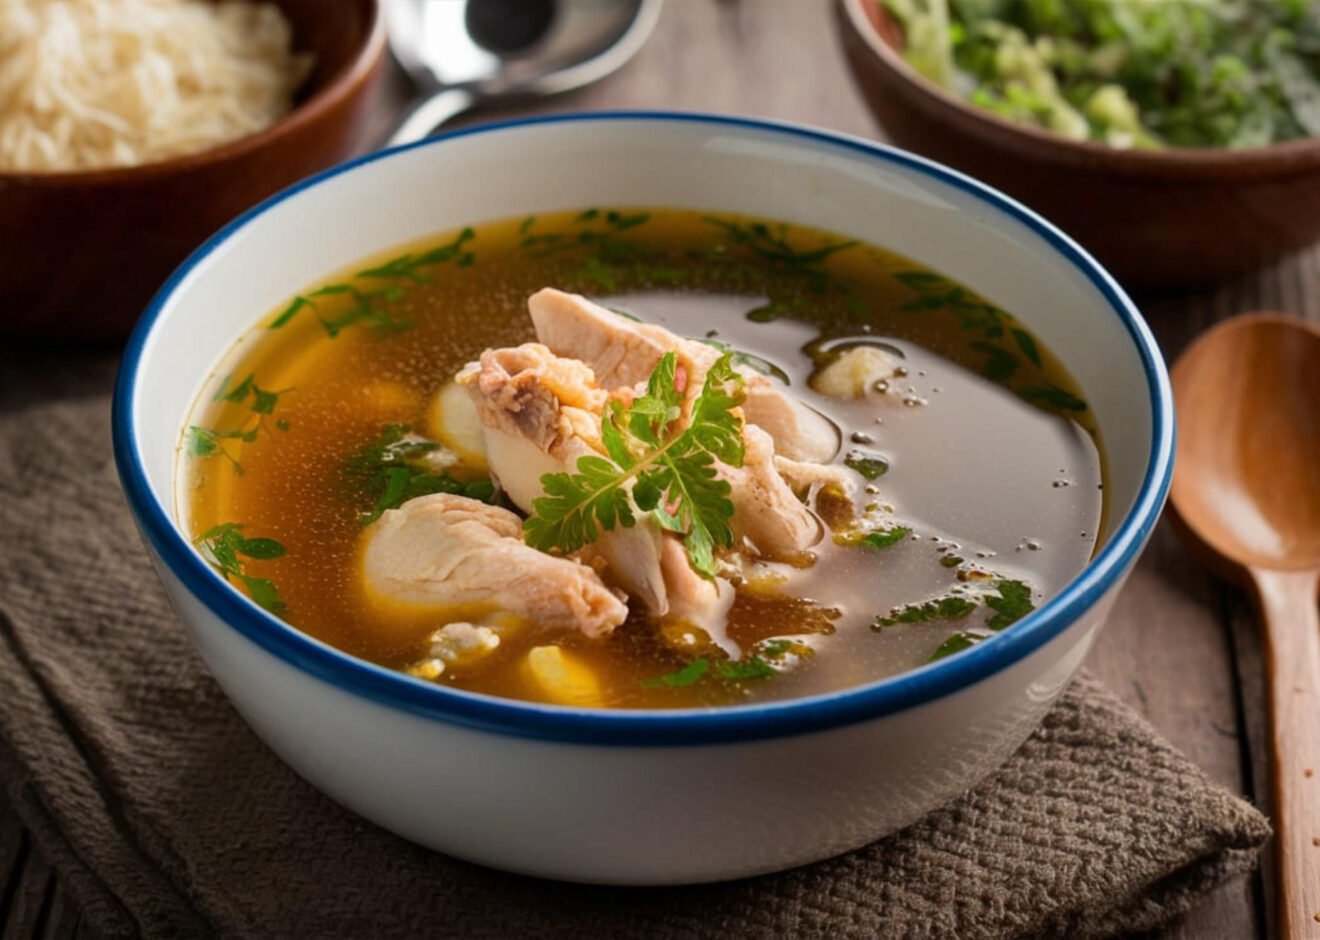
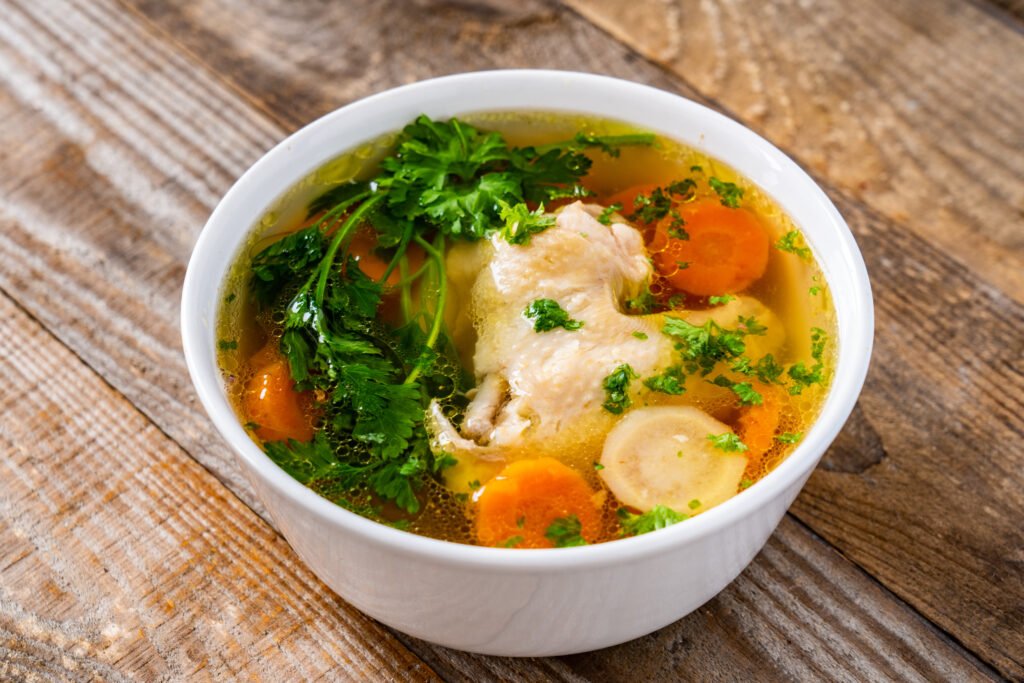
Understanding how to make chicken soup properly is one of the most valuable skills a home cook can develop. It is deeply forgiving, deeply nourishing, and when done right — when the broth runs golden and clear and the fat sits in small pools on the surface — it is genuinely one of the finest things you can cook.
Why the Simmer (Not the Boil) Is the Science
The difference between a cloudy, flat-tasting broth and a crystal-clear, deeply flavored one comes down to a single variable: temperature control during cooking.
When you bring chicken and water to a hard boil, the violent agitation emulsifies the fat and proteins that are releasing from the bones and connective tissue. These particles disperse throughout the liquid and cannot be removed — the result is a gray, murky broth with a slightly greasy mouthfeel.
A gentle simmer, maintained between 82°C and 93°C (180°F–200°F), allows collagen from the cartilage and bones to convert slowly into gelatin — the compound responsible for the silky, lip-coating body of a great broth. Fat rises calmly to the surface where it can be skimmed. Proteins coagulate into foam that is easy to remove. The result is a broth that is simultaneously clear and deeply rich.
The other key interaction is the cold-water start. Beginning with cold rather than boiling water draws soluble proteins and impurities out of the chicken gradually, where they rise as skimmable gray foam. Adding chicken to already-boiling water seals those compounds inside the meat — fine for a roast, wrong for a broth.
This is why knowing how to make chicken soup correctly begins before the heat is even turned on.
How to Make Chicken Soup: Step-by-Step
Ingredients (Serves 6):
- 1 whole chicken, approximately 1.5–1.8kg / 3.5–4 lbs (or equivalent bone-in pieces)
- 3 litres / 12 cups cold water
- 2 medium yellow onions, halved (no need to peel — skins add color)
- 4 stalks celery, roughly chopped, plus leaves
- 3 large carrots, peeled and cut into large chunks
- 1 whole head of garlic, halved crosswise
- 1 small bunch flat-leaf parsley (stems and all)
- 2 bay leaves
- 1 tablespoon whole black peppercorns
- 2 teaspoons fine sea salt (plus more to taste at the end)
- Optional additions: parsnip, leek, fresh dill, thyme sprigs
Step 1: Start cold and build slowly. Place the whole chicken into a large stockpot (at least 6-litre / 6-quart capacity). Cover with 3 litres / 12 cups of cold water — the chicken should be fully submerged. Do not add salt yet.
Step 2: Bring slowly to a near-boil and skim. Set the heat to medium and bring the pot to a near-boil over approximately 20–25 minutes. As the water heats, gray foam and impurities will rise to the surface. Skim this foam thoroughly using a ladle or fine-mesh skimmer — this is the most important step for a clear broth. Continue skimming until the foam stops appearing, usually 5–8 minutes after the first boil.
Step 3: Add aromatics and reduce to a simmer. Once the broth is clear, add the onions, celery, carrots, garlic, parsley, bay leaves, peppercorns, and salt. Reduce heat immediately to medium-low. The surface should show only a lazy, occasional bubble — not a rolling boil.
Step 4: Simmer low and slow. Cook uncovered (or partially covered) for 1 hour 30 minutes to 2 hours, maintaining that gentle simmer between 82–93°C / 180–200°F. Resist the urge to stir — movement clouds the broth. The chicken is done when the drumstick pulls easily from the joint.
Step 5: Remove and rest the chicken. Using tongs or a slotted spoon, carefully lift the whole chicken out into a large bowl and allow to cool for 15–20 minutes until handleable. The internal temperature of the thickest part of the thigh should read at least 74°C / 165°F — verify with an instant-read thermometer.
Step 6: Strain the broth. Ladle the broth through a fine-mesh strainer into a clean pot or large container, discarding the spent aromatics. The broth should run clear and golden. Taste and adjust salt now.
Step 7: Shred the chicken and finish the soup. Pull the meat from the bones using two forks or your fingers, discarding skin, cartilage, and bones. Return the shredded meat to the strained broth. Add freshly cut carrots or noodles at this stage if desired and simmer for a final 10–15 minutes until tender.
Step 8: Skim the fat and serve. Allow the soup to rest for 5 minutes off heat, then skim the surface fat with a ladle. Finish with fresh dill or parsley and a final pinch of salt. Serve in deep bowls, immediately.
Food Safety & Storage
Chicken soup must reach a minimum internal temperature of 74°C / 165°F throughout — confirm this in the thickest part of the thigh using a calibrated instant-read thermometer before removing the bird from the pot.
Cooling: Do not leave soup at room temperature for more than 2 hours (the USDA danger zone for bacterial growth is 4°C–60°C / 40°F–140°F). For large batches, divide into shallow containers to accelerate cooling before refrigerating.
Refrigerator storage: Up to 4 days in an airtight container. The chilled broth will gel completely due to its gelatin content — this is a sign of quality, not spoilage.
Freezer storage: Up to 3 months. Freeze broth and meat separately for best texture on thawing. Leave 2–3cm / 1 inch of headspace in containers to allow for expansion.
Reheating: Reheat only the portion you intend to serve. Bring to a full rolling boil — 100°C / 212°F — for at least 1 minute before serving. This fully eliminates any bacterial risk that may have developed during storage. Do not reheat the same portion more than once.
Frequently Asked Questions
Jeff Smith
"Cooking is the intersection of history, science, and emotion."
For me, the kitchen has always been a laboratory of culture. With a background deeply rooted in digital strategy and precision, I approach the culinary arts with the same rigor I apply to the digital landscape—analyzing flavors, perfecting techniques, and documenting the nuance that makes Filipino cuisine truly world-class.
Findme Recipe was born from a desire to bridge the gap between traditional heritage and the modern home cook. Whether it is mastering the perfect balance of acidity in a classic Adobo or simplifying complex regional dishes for everyday kitchens, my mission is to preserve our culinary identity through accessible, data-backed, and delicious content.
I am not just building a database; I am cultivating a community where every Filipino kitchen feels empowered, every ingredient is celebrated, and every family heirloom recipe finds a place to thrive.
Join me as we translate the soul of our islands into recipes for the next generation.