How to Sharpen Kitchen Knives: The Only Guide You’ll Ever Need for a Razor-Sharp Edge
- May 21, 2026
- 0
- 5 Min Read
The Sound That Tells You Everything
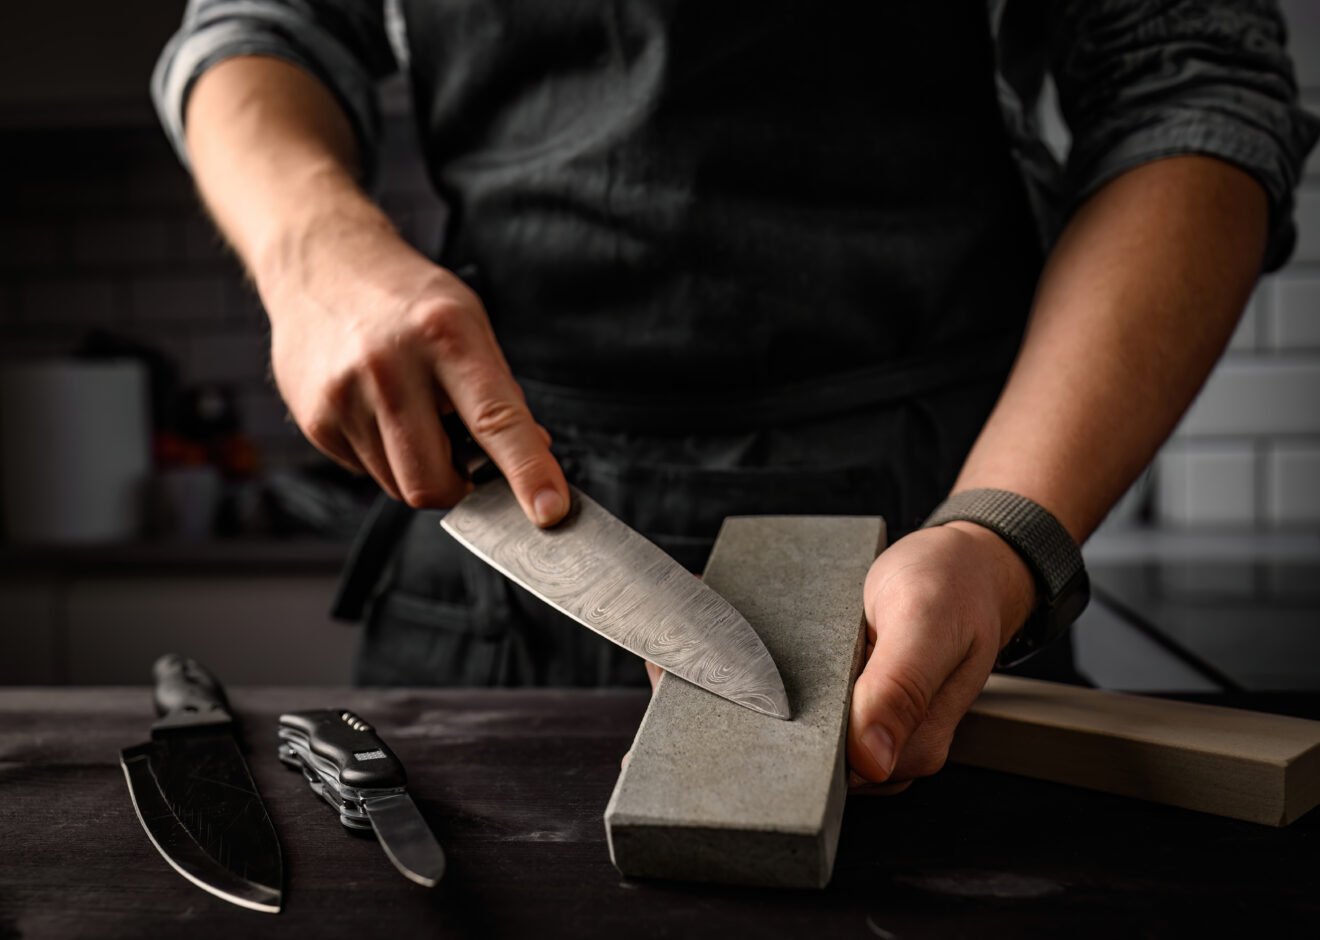
There is a particular sound a whetstone makes when you have the angle exactly right — a soft, consistent whisper as the blade glides across the wet surface, uniform from heel to tip. Get it wrong and you hear a scrape, a skip, or an uneven drag that tells you the edge is rolling off-plane. I learned to listen for that sound in a small Japanese knife shop in Osaka, where the sharpener worked without looking at the blade, relying entirely on feel and sound. That moment taught me more about how to sharpen kitchen knives than any YouTube video ever could.
Sharpening is a tactile skill, and it rewards patience. A truly sharp knife does not just cut faster — it cuts more safely, more precisely, and with dramatically less physical effort. The onion does not compress before it splits. The tomato skin yields without a push. This guide will teach you not just the steps, but the understanding behind them.
Why the Angle Is the Science (Not the Tool)
Most home cooks believe the whetstone is the magic. It is not. The edge bevel angle is the science that determines everything — sharpness, durability, and how the knife performs on different tasks.
A standard Western chef’s knife is sharpened at 20–22 degrees per side (a double bevel), producing a robust, durable edge suited to rocking cuts and heavy prep work. Japanese knives, by contrast, are typically ground at 10–15 degrees per side — some single-bevel blades even thinner — producing a scalpel-like sharpness that excels at precision slicing but chips more readily against hard foods.
The reason angle matters so much is geometry: a steeper bevel creates more metal behind the edge, making it resilient but less acute. A shallower bevel removes more material, creating a thinner, keener edge that cuts with less resistance. Neither is universally superior — the right angle depends on your knife’s steel hardness (measured in HRC, the Rockwell scale) and your cutting style.
Harder steels (HRC 60+, common in Japanese knives) can hold a finer angle without rolling. Softer German steels (HRC 56–58) need a slightly wider bevel to stay durable. This is why learning how to sharpen kitchen knives correctly starts with knowing what knife you own.
How to Sharpen Kitchen Knives: Step-by-Step
What You’ll Need:
- Whetstone (coarse: 200–400 grit / medium: 1000 grit / fine: 3000–8000 grit)
- Honing rod (for between-sharpening maintenance)
- Non-slip stone holder or damp towel
- Clean water or honing oil (depending on stone type)
- Soft cloth for wiping the blade
Step 1: Soak or prepare your whetstone. Water stones should be submerged in clean water for 5–10 minutes before use (until bubbles stop rising). Oil stones require a thin coat of honing oil. Never use water on an oil stone or vice versa — it clogs the pores.
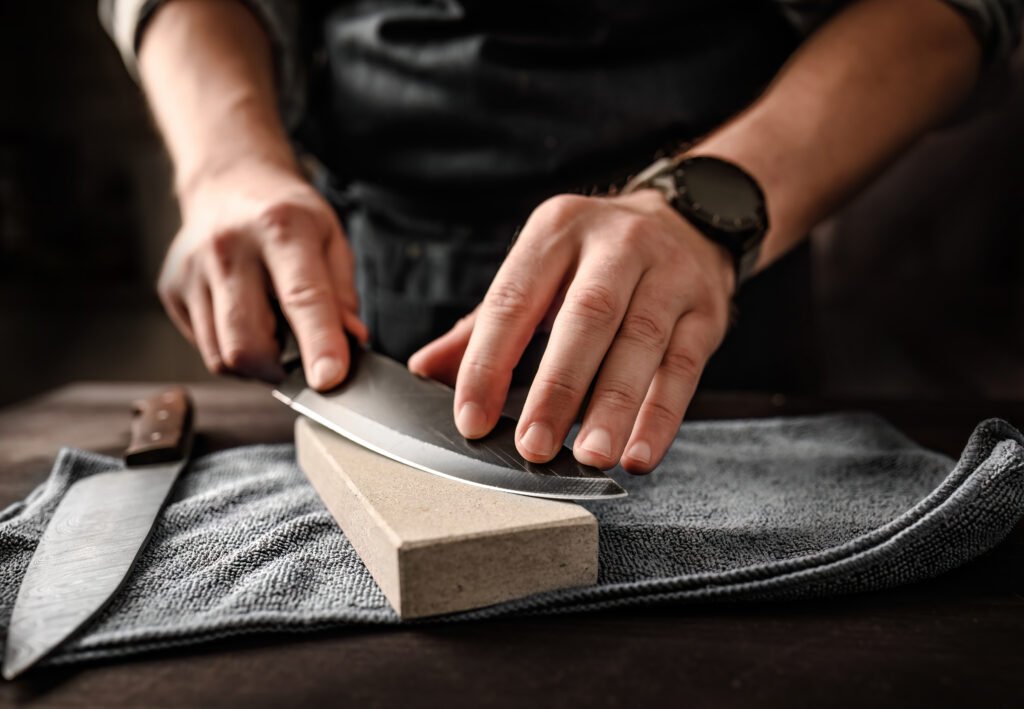
Step 2: Set your angle and hold it consistently. Place the knife on the stone at your target bevel angle — 20° for most Western knives, 15° for Japanese. A practical guide: for 20°, imagine the spine raised about the width of two stacked coins (approximately 6mm / ¼ inch) above the stone surface.
Step 3: Work the coarse grit first (if reshaping is needed). On a 200–400 grit stone, push the blade edge-first across the stone in a sweeping arc from heel to tip, applying moderate, consistent pressure on the forward stroke. Lift slightly on the return. Repeat 8–10 strokes per side until you feel a slight burr (a thin wire of metal) forming on the opposite side — this confirms you’ve reached the apex of the edge.
Step 4: Progress through medium grit (1000). Switch to your 1000-grit stone and repeat the same motion with lighter pressure — 4–6 strokes per side. This removes the coarse scratches and refines the bevel. The burr should become finer and more even along the full length of the blade.
Step 5: Polish on fine grit (3000–8000). On your finishing stone, use minimal pressure and slow, deliberate strokes — 3–4 per side. This stage aligns and polishes the edge crystals at a microscopic level, producing the razor-sharp finish that will glide through food.
Step 6: Strop and test. Run the blade lightly across a leather strop or the spine of a thick leather belt — 6–8 passes per side, edge trailing — to remove any remaining burr. Test sharpness by slicing a single sheet of printer paper: a truly sharp knife will cut cleanly and silently with zero tearing.
Step 7: Maintain with a honing rod between sharpenings. A honing rod (also called a sharpening steel) does not remove metal — it realigns the microscopic edge that folds with regular use. Use it before every major cooking session: 4–5 light passes per side at your bevel angle, with the blade moving edge-first and downward.
Safety & Edge Care
A sharp knife requires serious handling respect. Always cut away from the body, use a stable cutting board (rubber or end-grain wood — never glass or ceramic, which destroy edges), and store knives on a magnetic strip or in a knife block, never loose in a drawer where edges contact other metal.
After sharpening, rinse the blade immediately — metal filings from the stone are fine and invisible but should not enter food. Wipe the blade from spine to edge using a folded cloth, never running fingers along the edge directly.
Edge longevity by storage method:
- Magnetic wall strip: best (no contact damage)
- In-drawer knife block with slots: good
- Loose in a drawer: damages edge within weeks
- Dishwasher: destroys the edge and the handle — never recommended
For whetstone care, rinse under running water after each use, allow to air-dry fully before storing, and flatten your stone periodically using a lapping plate or nagura stone to prevent the concave hollow that develops with repeated use and causes uneven sharpening.
Frequently Asked Questions
Jeff Smith
"Cooking is the intersection of history, science, and emotion."
For me, the kitchen has always been a laboratory of culture. With a background deeply rooted in digital strategy and precision, I approach the culinary arts with the same rigor I apply to the digital landscape—analyzing flavors, perfecting techniques, and documenting the nuance that makes Filipino cuisine truly world-class.
Findme Recipe was born from a desire to bridge the gap between traditional heritage and the modern home cook. Whether it is mastering the perfect balance of acidity in a classic Adobo or simplifying complex regional dishes for everyday kitchens, my mission is to preserve our culinary identity through accessible, data-backed, and delicious content.
I am not just building a database; I am cultivating a community where every Filipino kitchen feels empowered, every ingredient is celebrated, and every family heirloom recipe finds a place to thrive.
Join me as we translate the soul of our islands into recipes for the next generation.